
Framing and Trim: Essential Techniques for a Professional Finish
Framing and trim work are the unsung heroes of any building project, providing the structural support and aesthetic details that bring a room together. Whether you're a seasoned contractor or a DIY enthusiast, mastering these techniques can make all the difference in achieving a professional finish.
Understanding the Basics of Framing
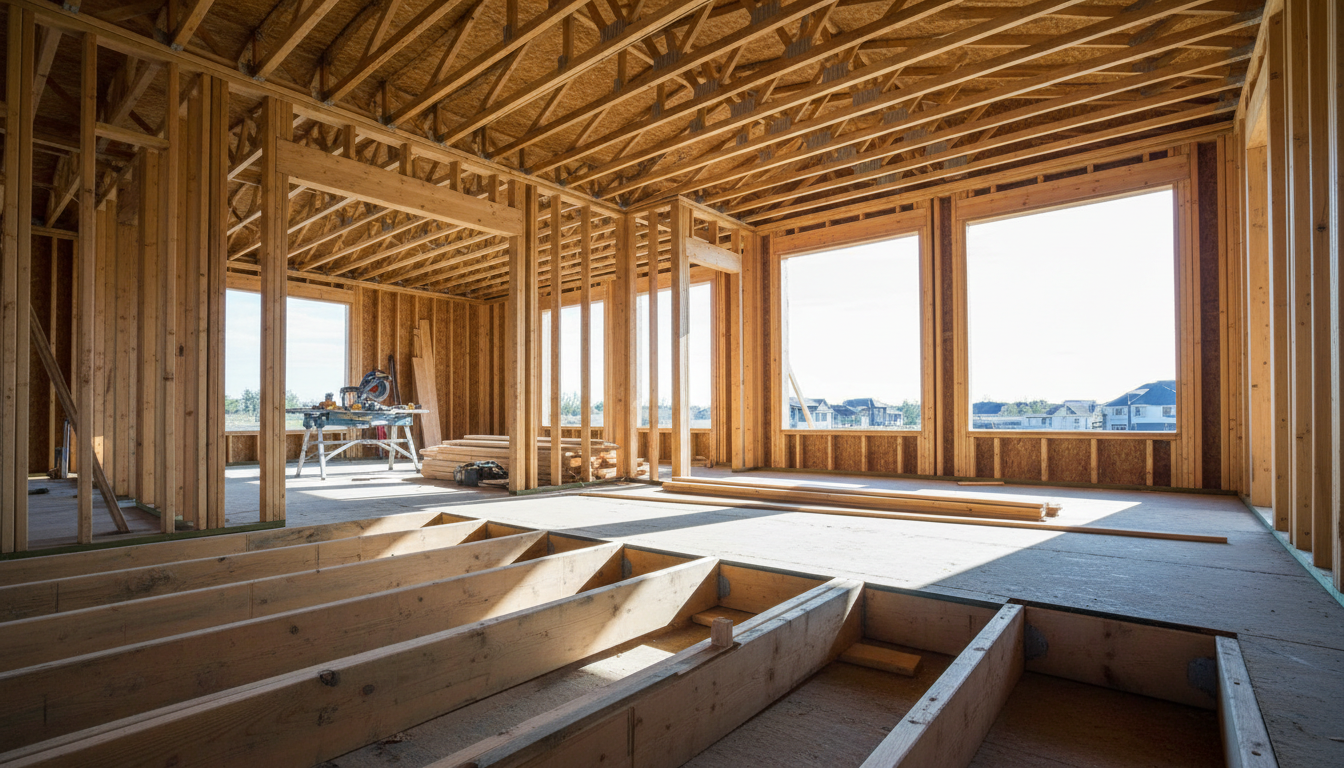
Framing is the skeleton of any construction project, forming the basis upon which everything else is built. It involves creating the structure that supports walls, floors, roofs, and ceilings. The key to effective framing is precision, ensuring every piece is cut and placed correctly to maintain the integrity of the structure.
There are several types of framing, including platform, balloon, and truss framing. Each has its unique applications and benefits. For most residential projects, platform framing is preferred due to its simplicity and efficiency.
Essential Tools for Framing
Having the right tools is crucial for efficient framing. Essential tools include a hammer, tape measure, speed square, level, and circular saw. Investing in quality tools can save time and reduce mistakes, allowing for a smoother process.
In addition to basic tools, consider using a pneumatic nail gun for faster assembly. It can significantly speed up the process and improve accuracy over manual nailing.
Achieving a Perfect Trim
Trim work adds the finishing touches to a room, providing a polished look that enhances the overall aesthetic. It involves installing baseboards, crown molding, window casings, and door frames. The key to successful trim work is attention to detail, ensuring clean cuts and precise fitting.

Types of Trim Materials
When selecting trim materials, consider factors such as durability, cost, and style. Common materials include wood, MDF, and PVC. Wood trim is classic and versatile, offering a natural look, while MDF is cost-effective and easy to work with. PVC trim is ideal for areas exposed to moisture, such as bathrooms.
Choosing the right material can impact the longevity and appearance of your trim, so weigh the options carefully based on the specific needs of your project.
Professional Techniques for Installation
For a seamless finish, use professional techniques during installation. Start by measuring each section accurately and cutting pieces to fit snugly. Use a miter saw for angled cuts, especially for corners and joints, ensuring a perfect fit.

Finishing Touches
Once the trim is installed, the finishing touches involve filling gaps, sanding, and painting or staining. Use caulk to fill any gaps between the trim and walls, and sand any rough edges for a smooth surface. Finally, apply paint or stain to match your desired aesthetic.
Achieving a professional finish in framing and trim is about precision, the right materials, and attention to detail. By mastering these techniques, you can transform any space into a masterpiece of construction and design.