Drywall Installation: Common Mistakes and How to Avoid Them
Understanding the Basics of Drywall Installation
Drywall installation is a crucial part of building and renovating homes, providing a smooth and durable surface for walls and ceilings. However, it's easy to make mistakes that can affect the final appearance and functionality. Understanding common pitfalls can help you achieve professional results. In this post, we'll explore typical errors and how to avoid them.
Inadequate Planning and Preparation
One of the most frequent mistakes during drywall installation is inadequate planning. It's essential to measure your space accurately and consider potential obstacles such as electrical outlets and plumbing fixtures. Failing to plan can lead to material wastage and increased costs.
Before starting, ensure you have all the necessary tools and materials. A well-stocked toolkit should include a utility knife, T-square, drywall screws, and joint compound. Having everything prepared will streamline the process and reduce the likelihood of errors.
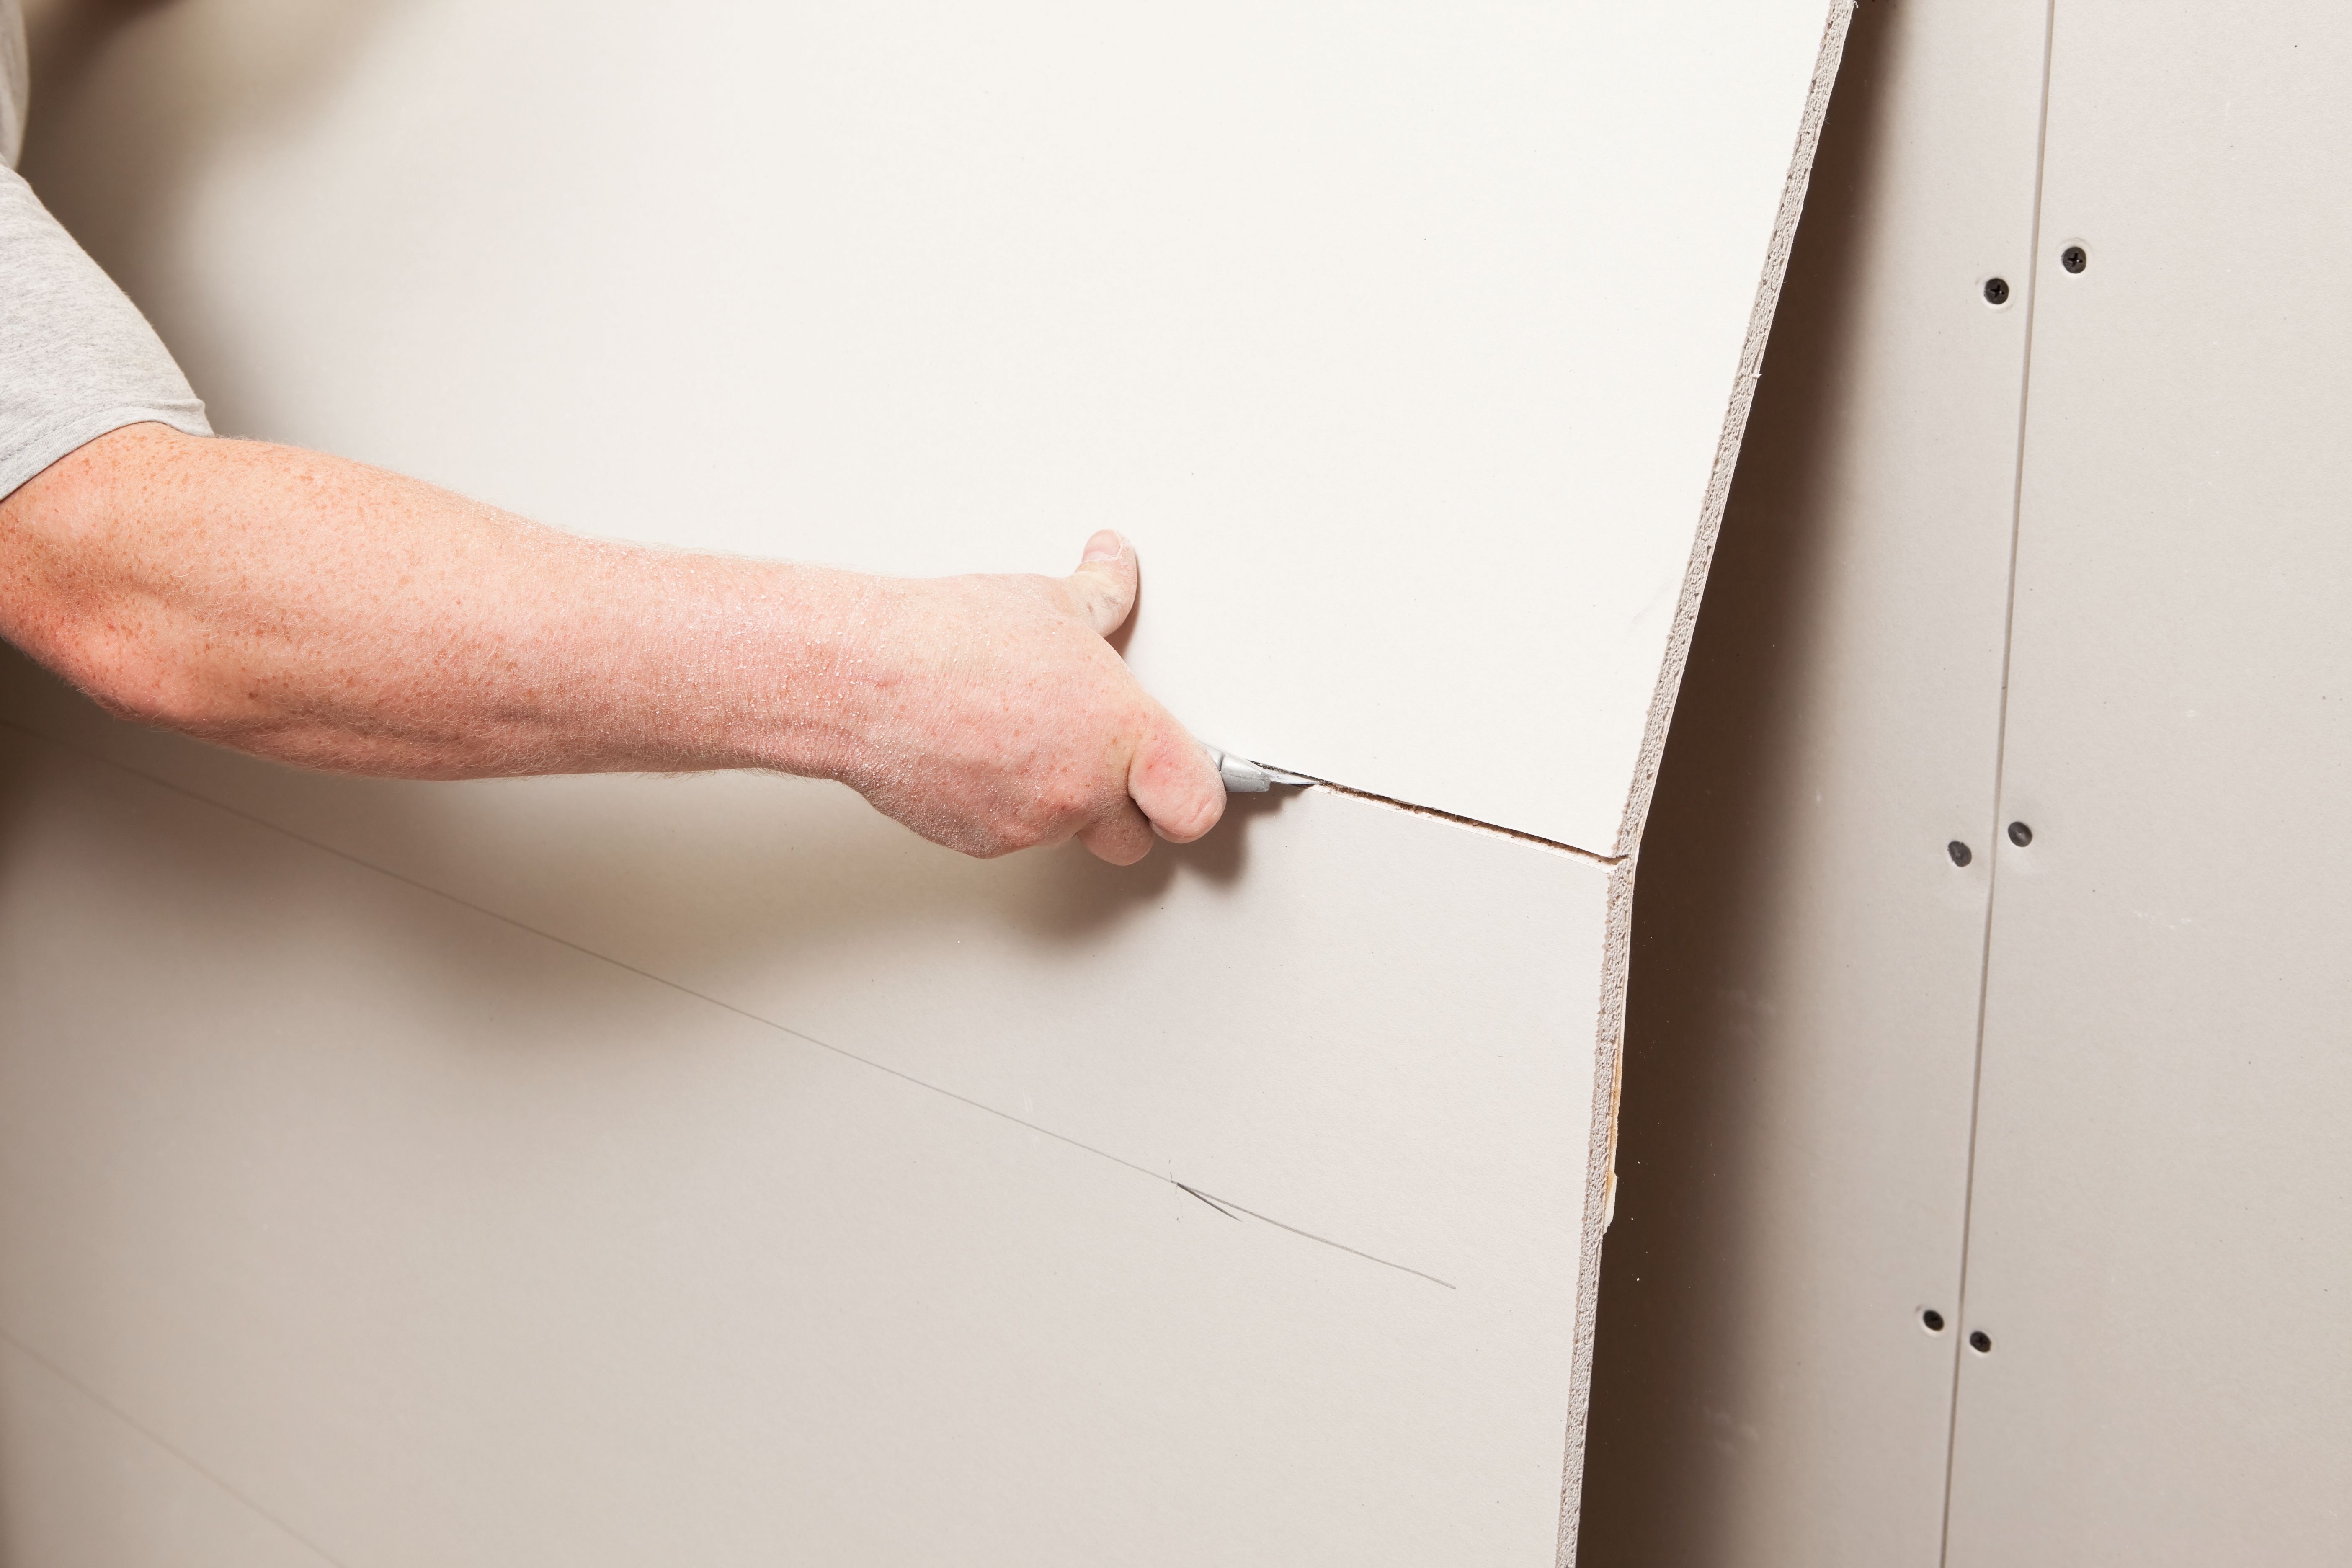
Improper Cutting Techniques
Another common mistake is improper cutting techniques. Cutting drywall requires precision to ensure a snug fit. Use a sharp utility knife and a straightedge to make clean cuts. Remember to score the paper surface before snapping the sheet along the line.
When cutting around outlets or fixtures, it's beneficial to use a drywall saw for more intricate shapes. Mistakes in cutting can lead to gaps that are difficult to conceal later, impacting the overall appearance.
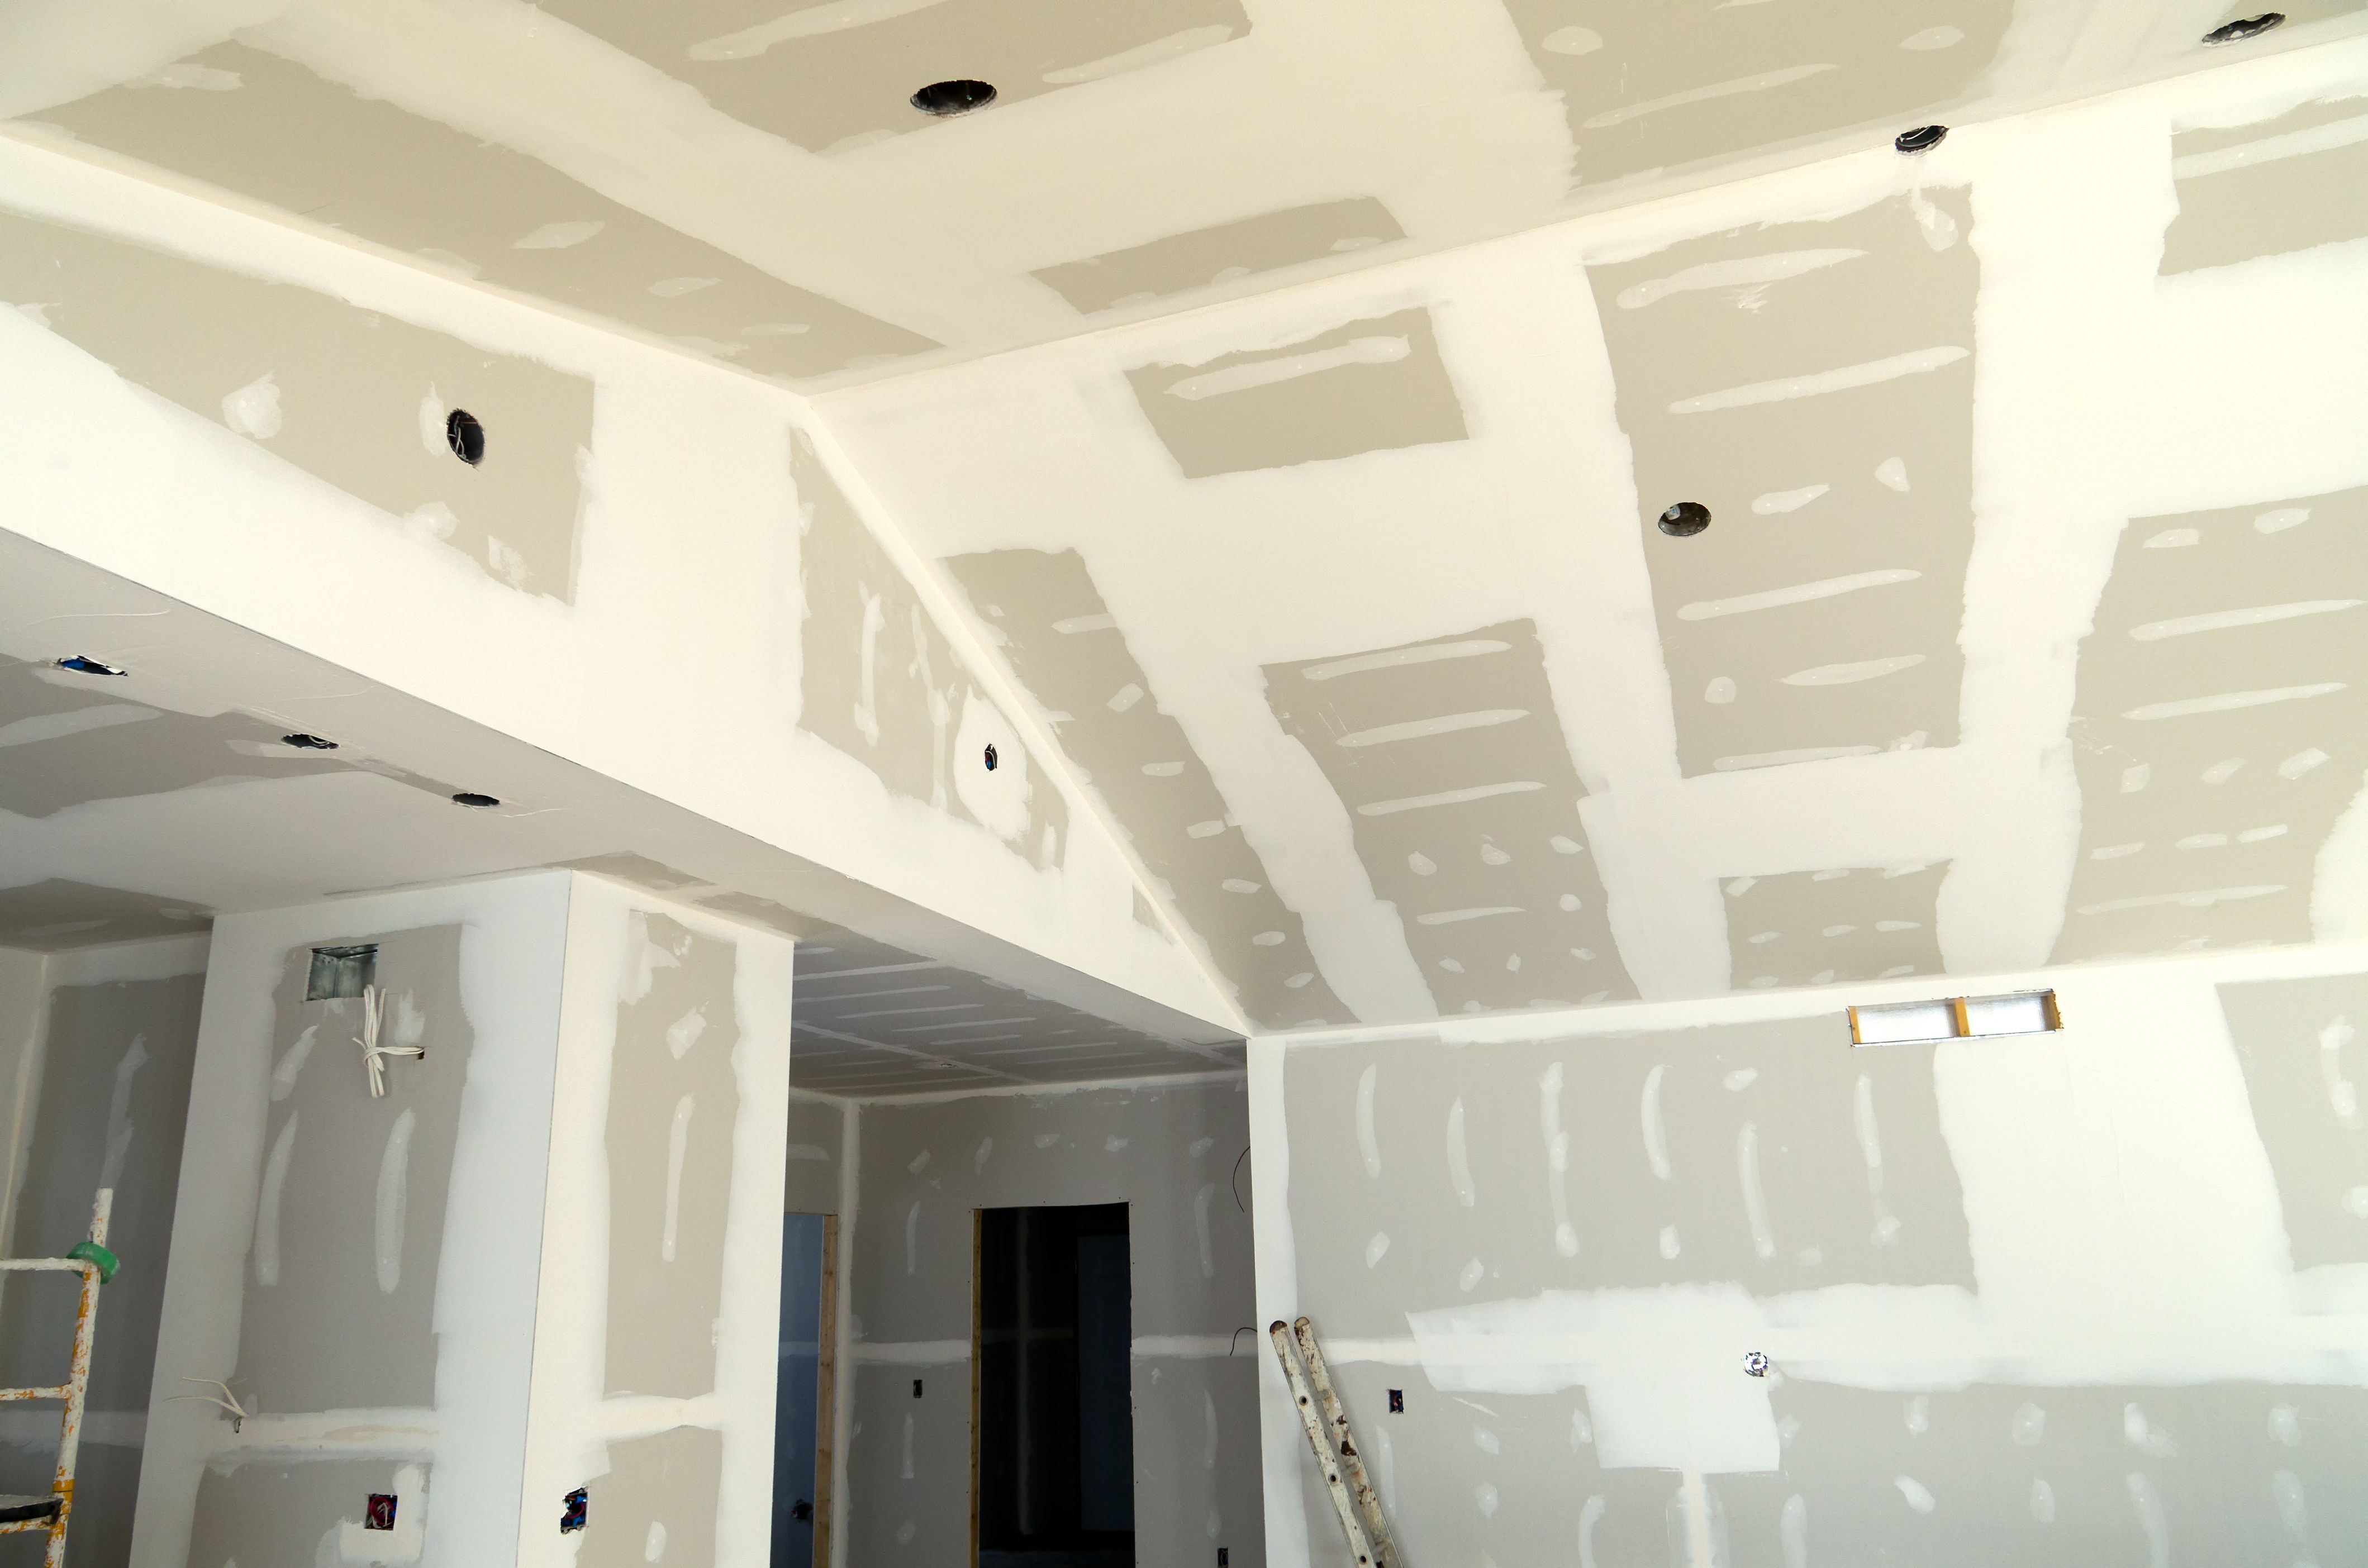
Incorrect Fastening Practices
Fastening drywall sheets incorrectly is a frequent issue. It's important to use enough screws to secure the panels without overdriving them. Screws should be driven just below the surface of the drywall without breaking the paper, which can weaken the hold.
Follow a consistent pattern when fastening sheets to ensure stability. Typically, screws should be placed about 12 inches apart on walls and 8 inches apart on ceilings. This spacing provides adequate support without compromising the integrity of the drywall.
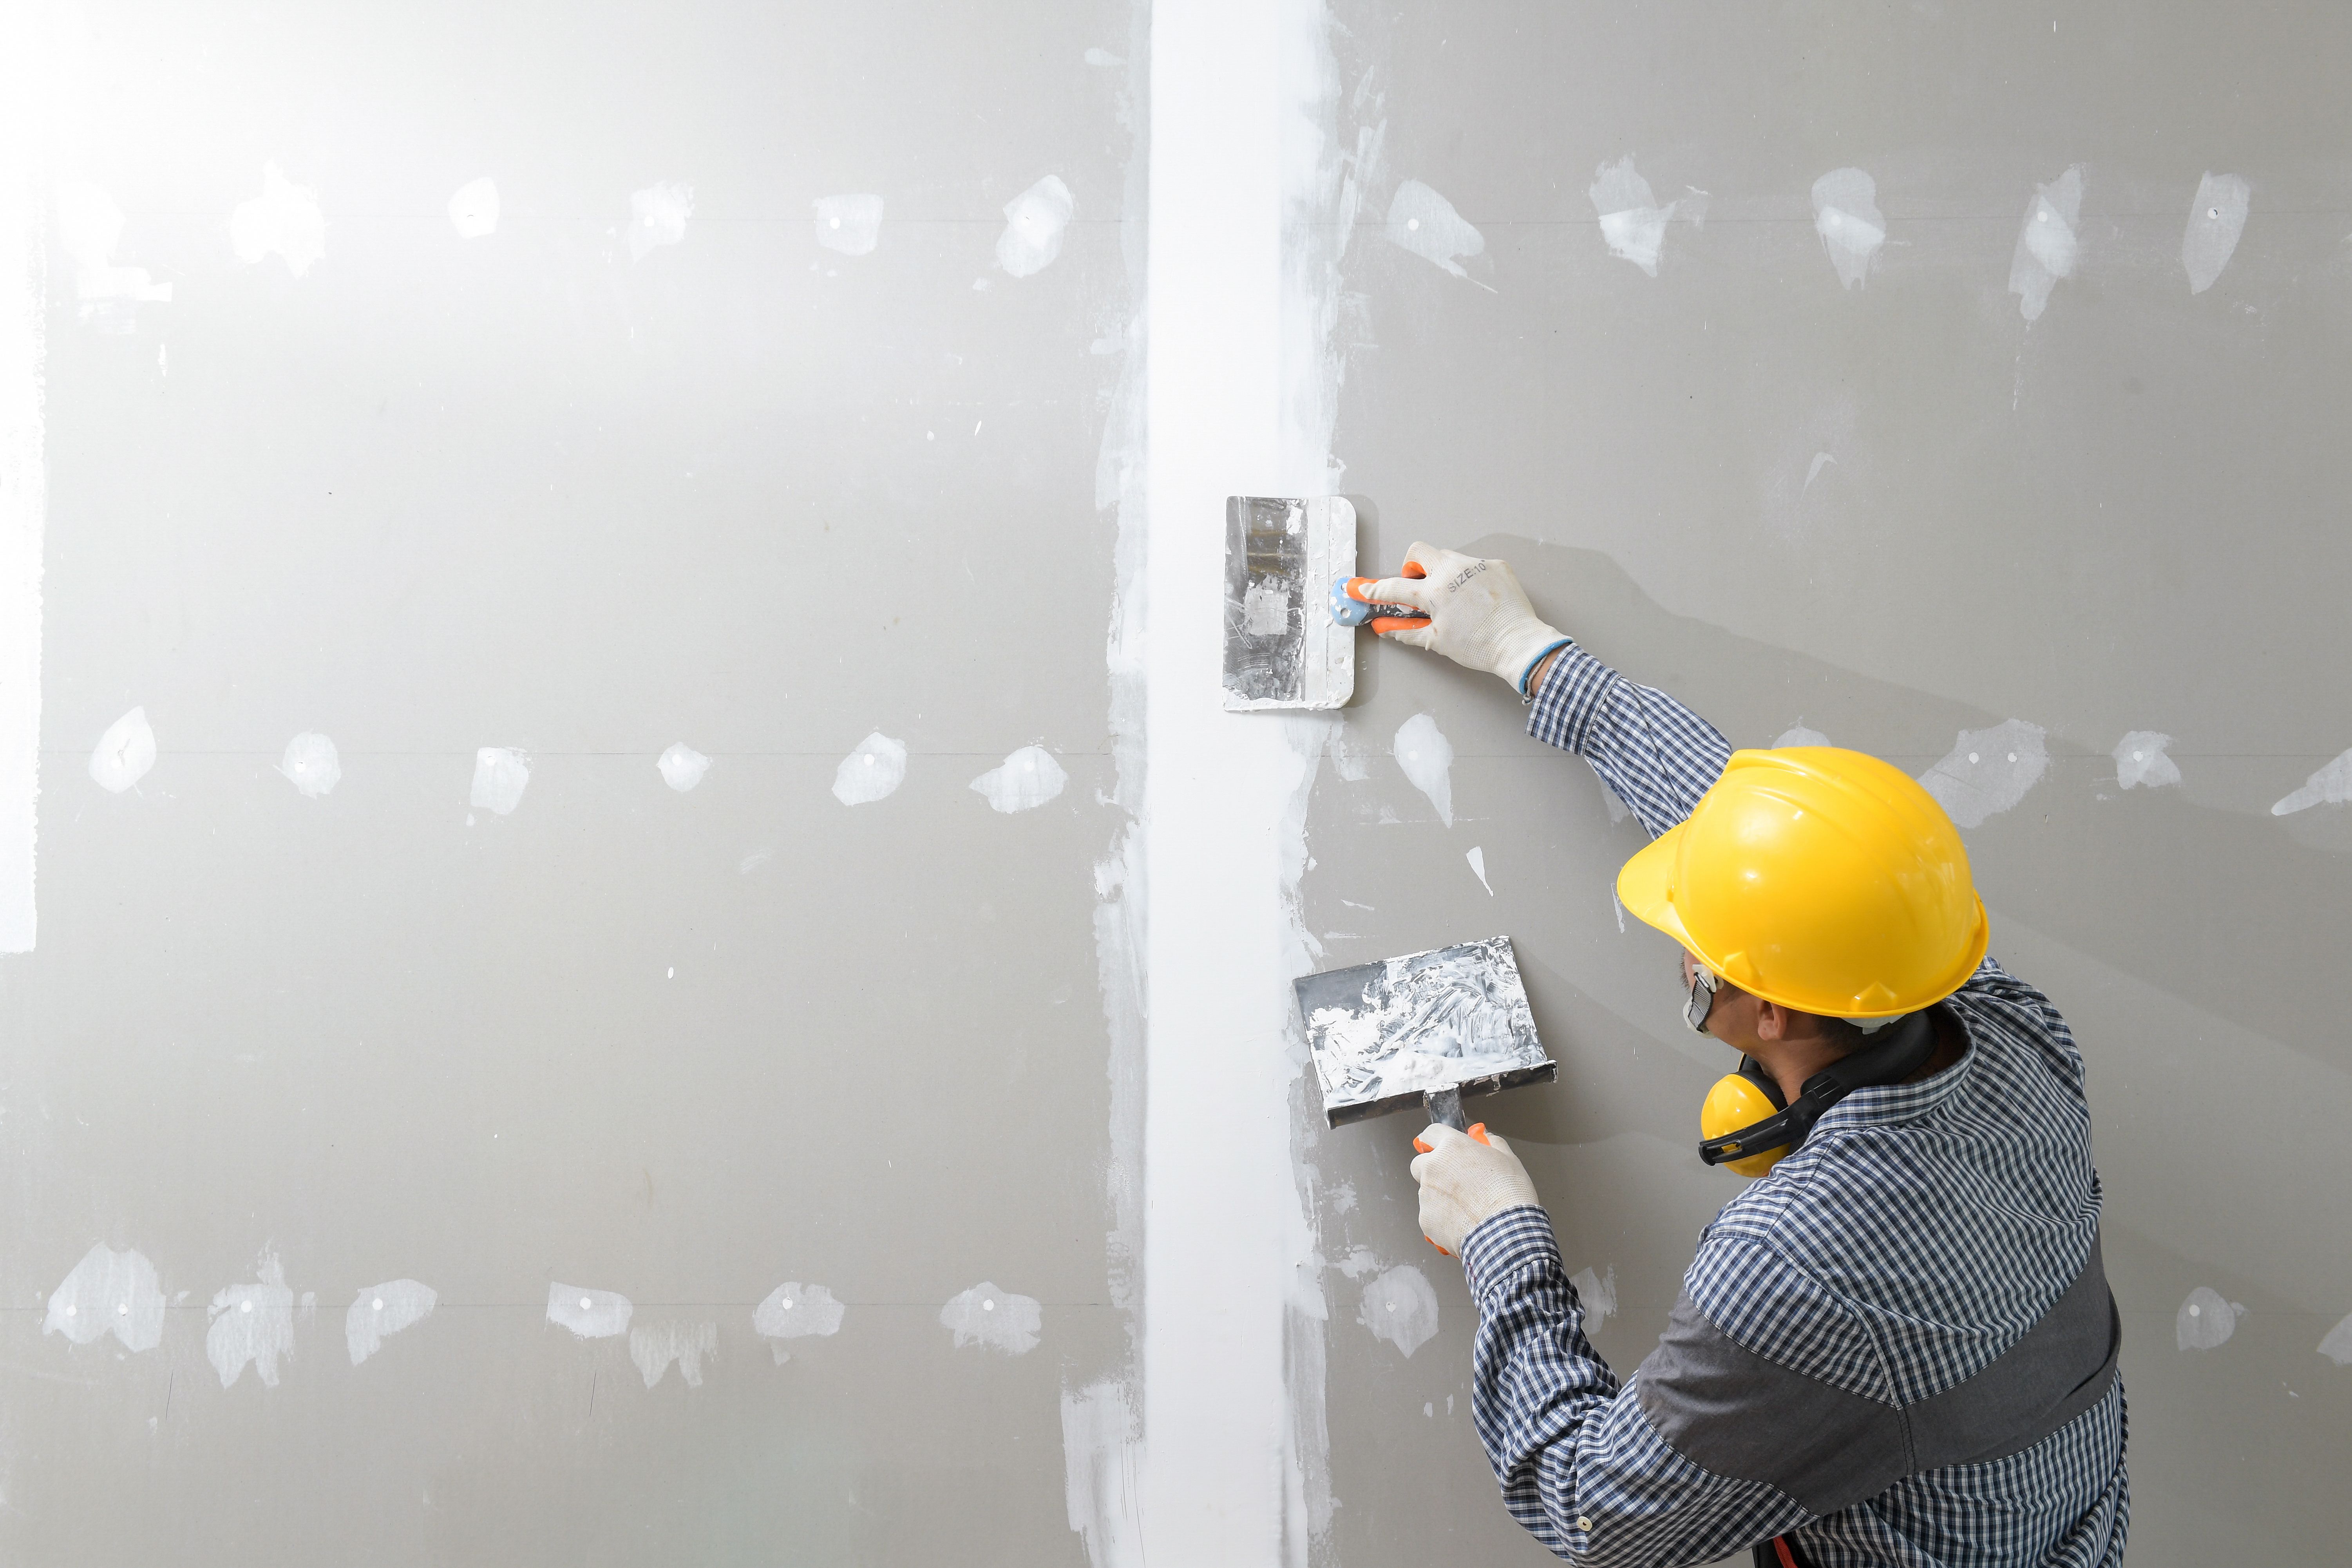
Poor Joint Taping and Finishing
Poor joint taping is another area where many DIY enthusiasts struggle. To achieve seamless joints, apply a thin layer of joint compound over seams before embedding tape. Use a taping knife to smooth out air bubbles and excess compound.
After the first coat dries, apply two or three more coats of compound, feathering out each layer wider than the last. Sand between coats to achieve a smooth finish. Proper joint finishing is essential for a flawless appearance once walls are painted.
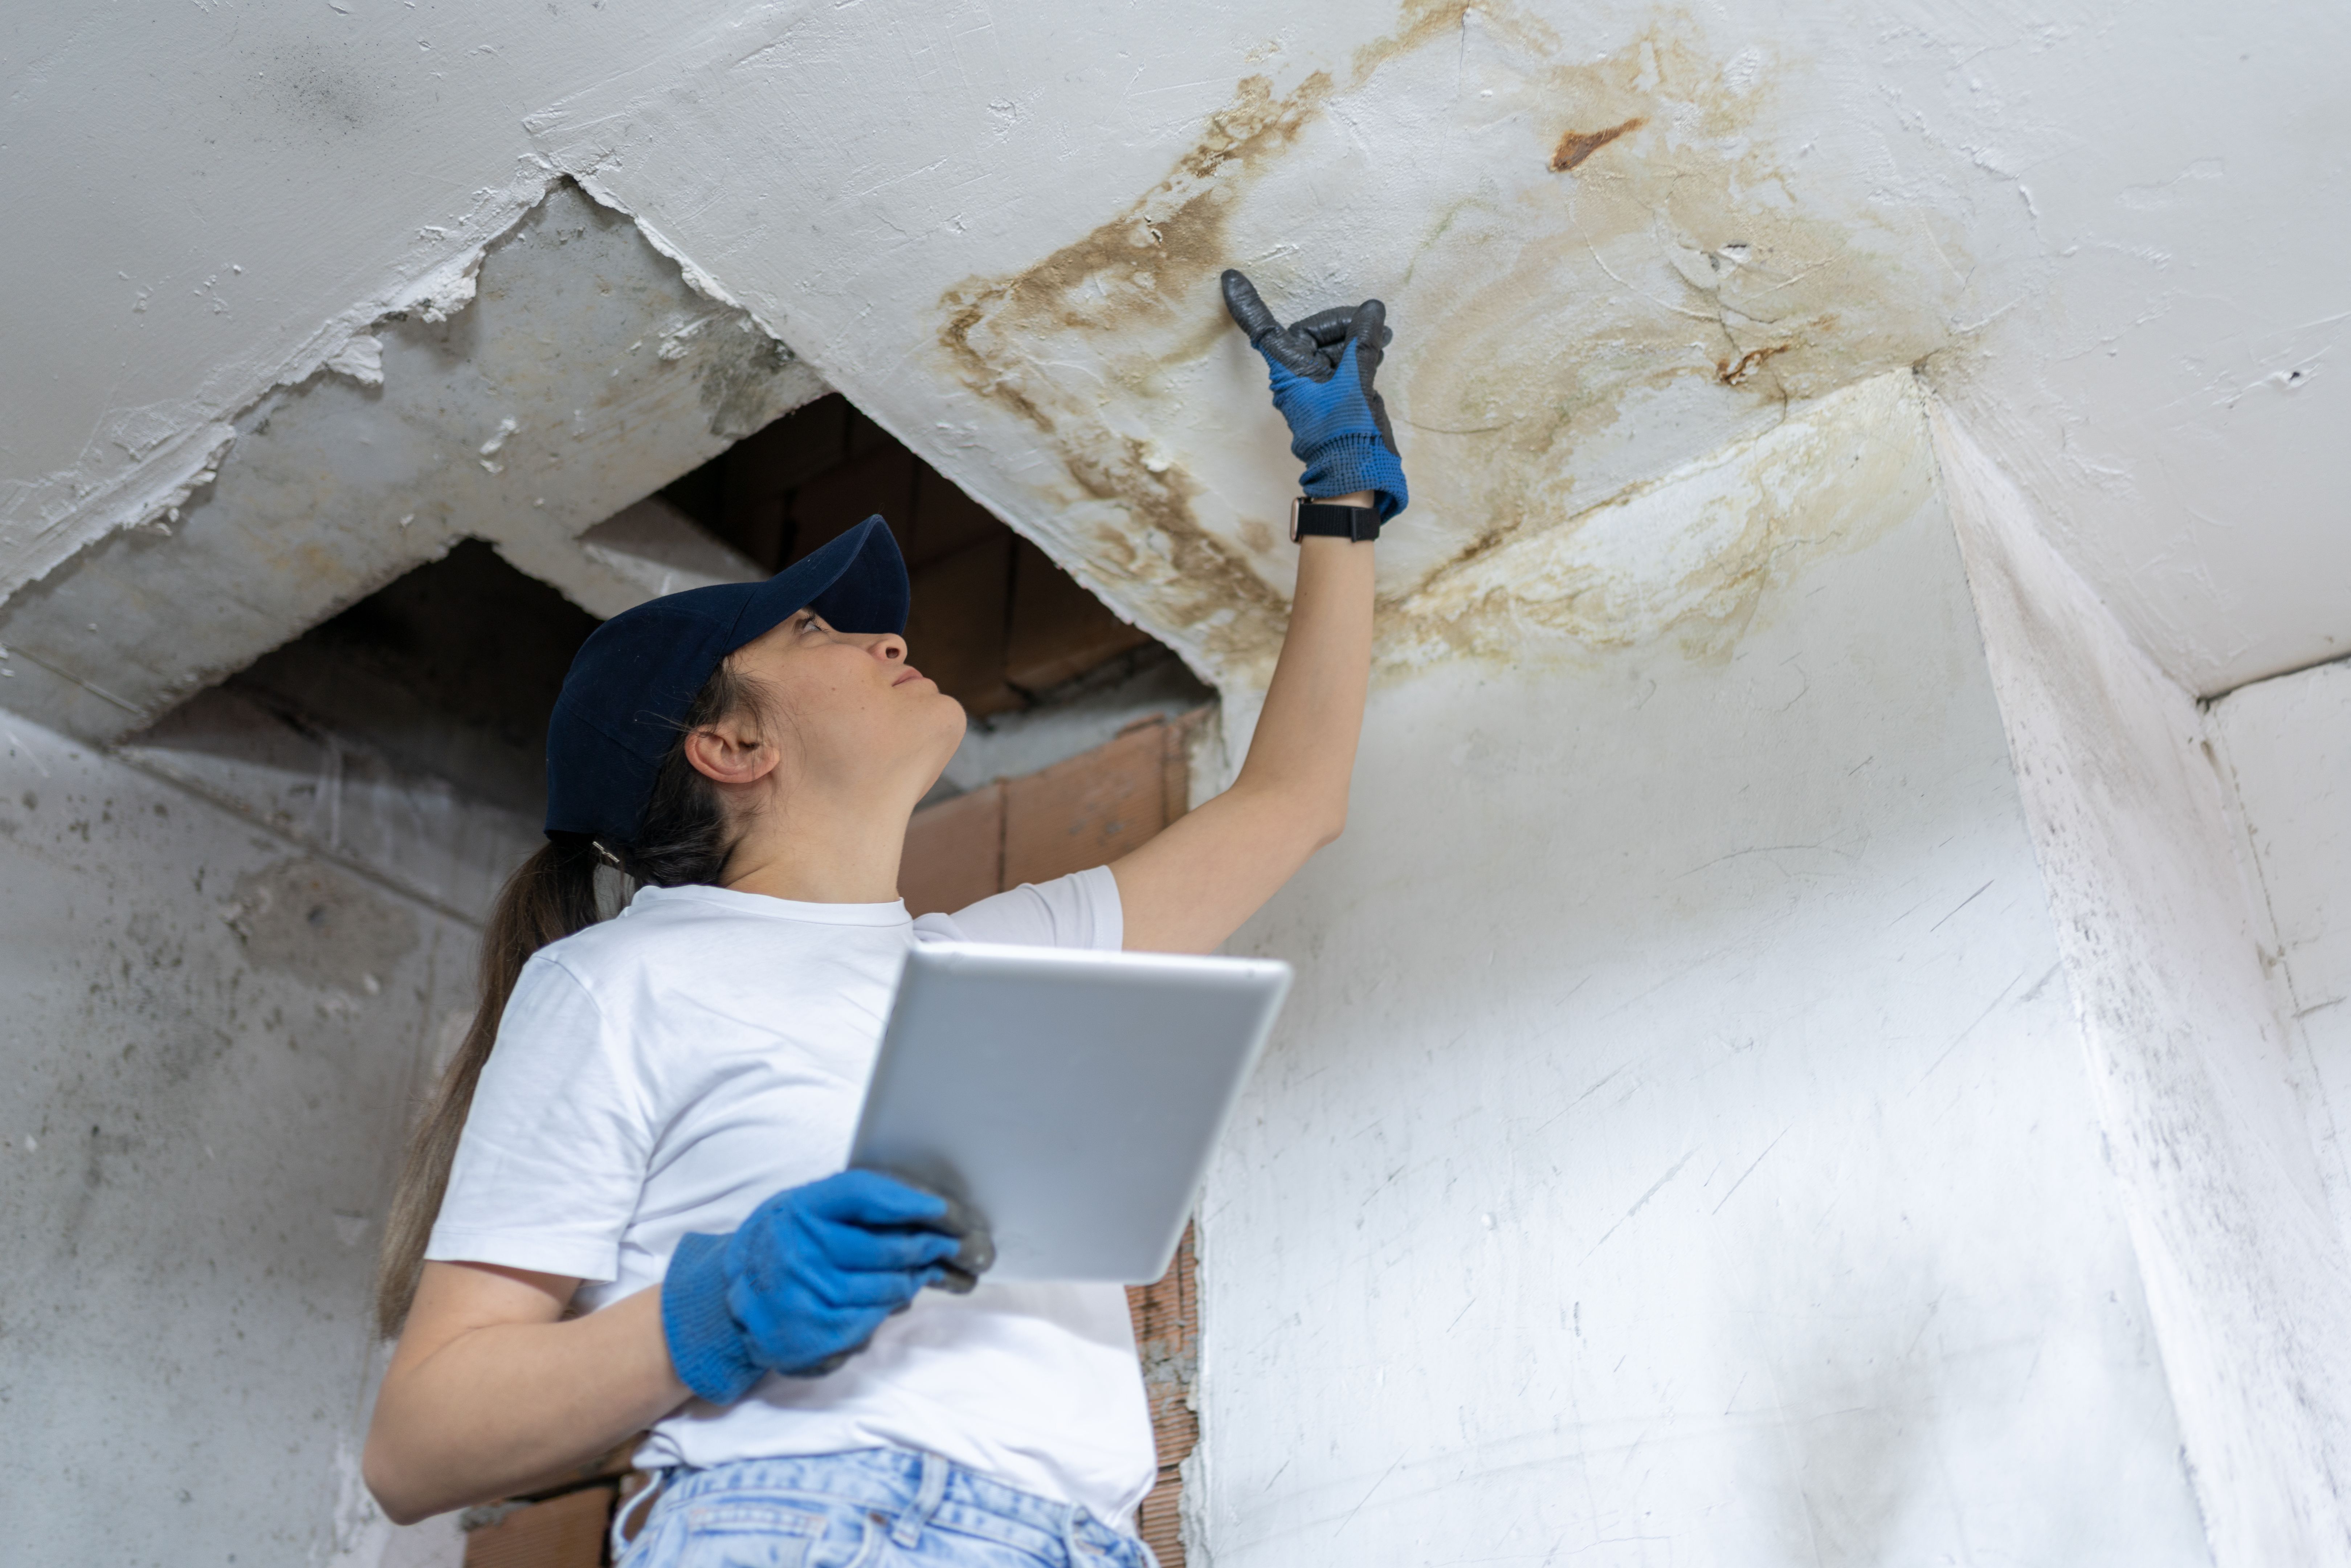
Lack of Attention to Detail
Attention to detail is crucial in drywall installation. Overlooking small flaws can lead to significant issues later on. Inspect your work regularly for imperfections such as lumps or uneven surfaces.
Utilize a bright light to spot imperfections that might not be visible under normal lighting conditions. Addressing these issues early in the process saves time and effort in the long run.
Conclusion: Achieving Professional Results
Drywall installation may seem straightforward, but avoiding these common mistakes requires attention to detail and patience. By planning effectively, using proper techniques, and focusing on finishing touches, you can achieve professional results that enhance the beauty and durability of your space.
If you're unsure about any part of the process, consider consulting with or hiring a professional to ensure your project meets high standards.